Tool Failure and Wood Drill Metallurgical Failure Investigation
 LPD Lab Services frequently carries out failure investigations and consultancy on metal products and components. The reputation and reliability of a product in the marketplace can hinge on the weakest link within an assembled component such as a bolt or screw. These sort of low cost components if found to be manufactured with poor quality control practices, can lead to catastrophic failures in assembled parts. In the case of cutting tool tips they can cause damage to critical components or in production increase quality yield failures and scrap rates.
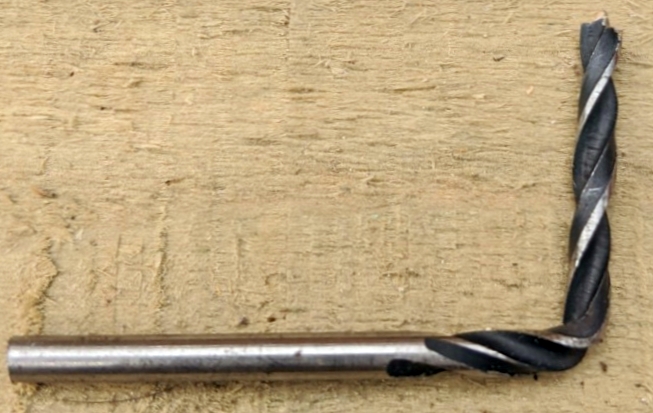
The following illustrative metallurgical examination was performed on a 3 mm wood drill bit that bent whilst used to drill into relatively soft wood. Determining the root cause required an experienced metallurgist with suitable process experience and direct access to optical microscopy, SEM / EDX, metallography capabilities, mechanical testing to assess mechanical properties and hardness testing.
 Visual and Low Magnification Optical Examination
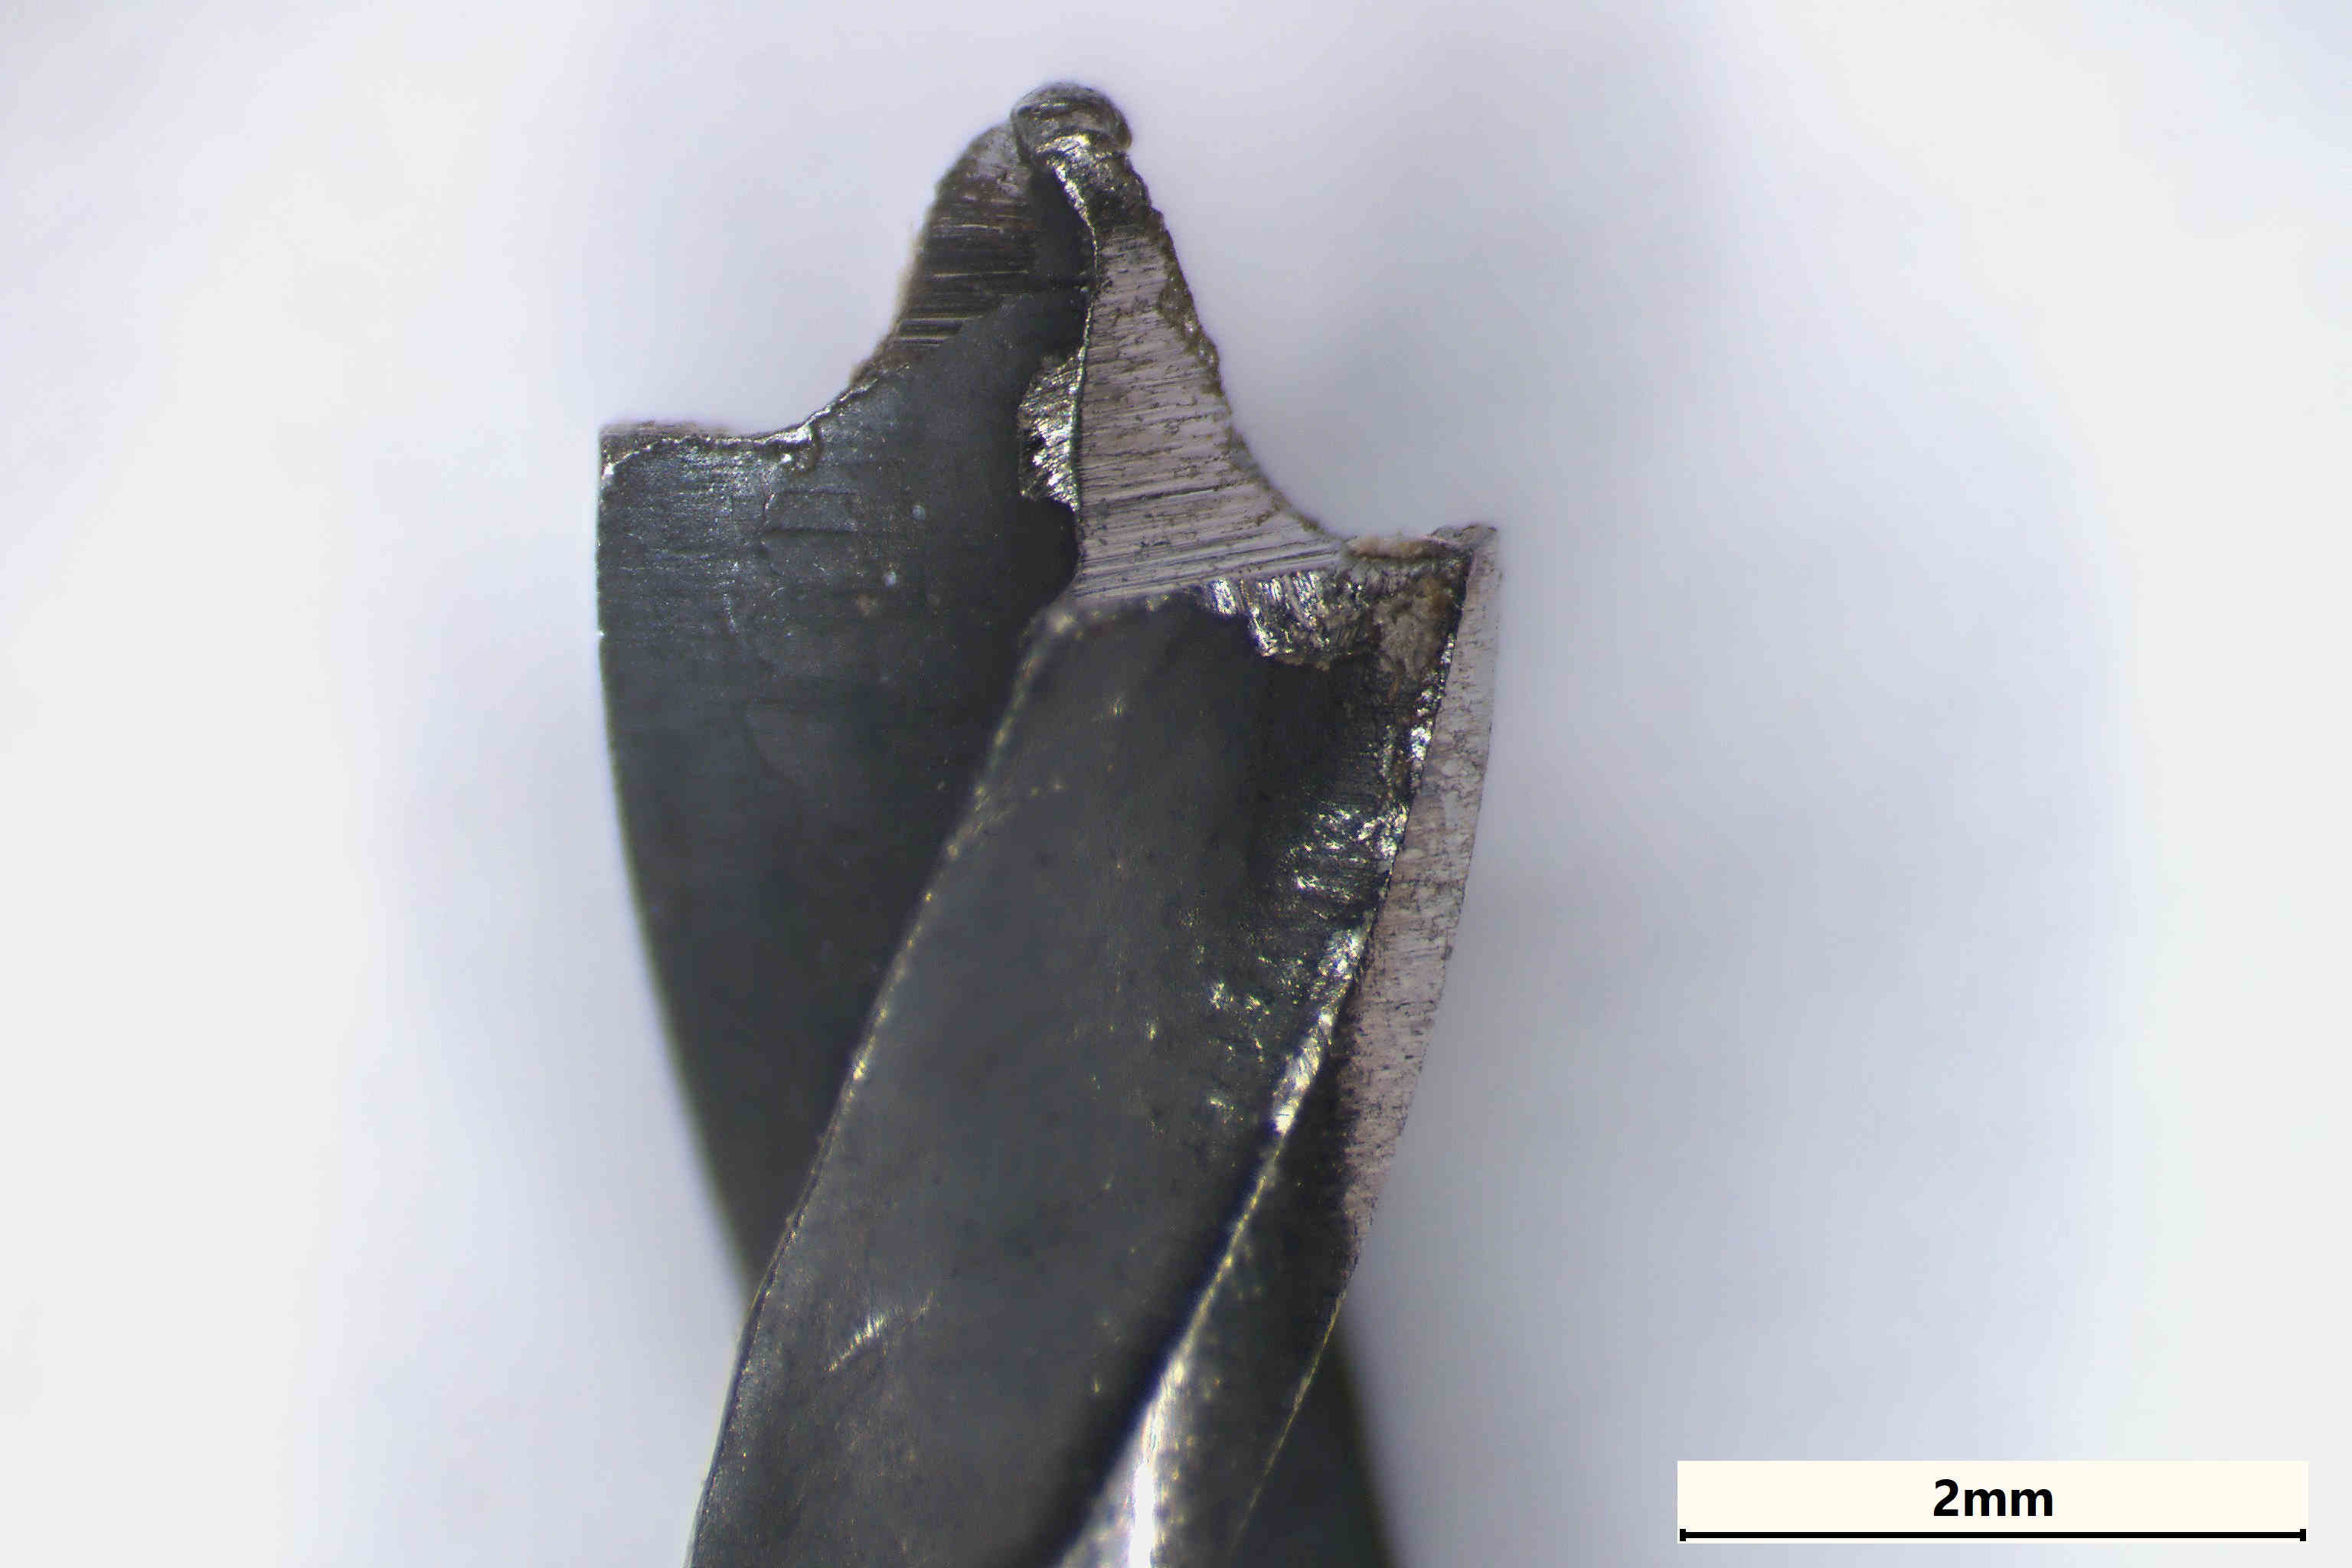
Physical inspection and optical microscopy showed the drill bit had bent into a near right angle at a location three quarters up the body. This indicated that it did not possess sufficient yield strength to serve its intended function. Evidence of wear was observed along margin of the drill bit. This indicated that the material had insufficient wear resistance. The centre point was twisted and this indicated that the material had insufficient strength.
Compositional Analysis by SEM with Energy Dispersive X-ray (EDX) Analysis
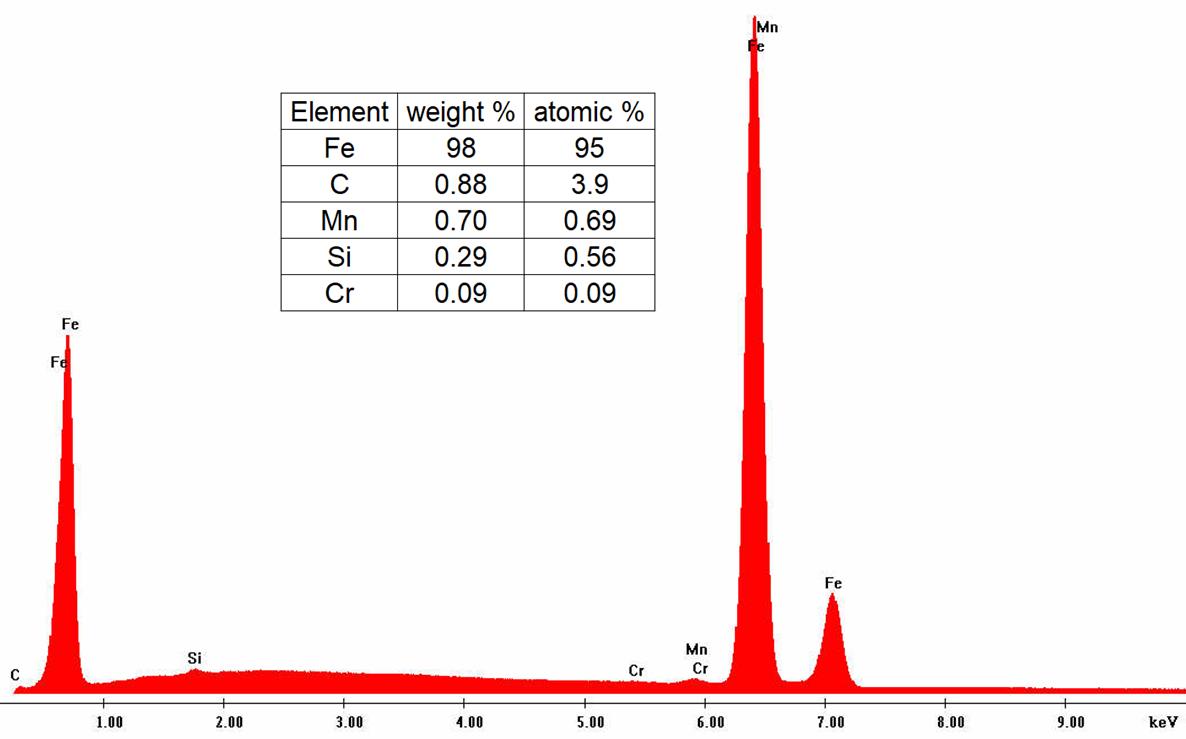
 The semiquantitative composition of the drill bit material by SEM / EDX indicated it to be a medium carbon steel.
Metallography
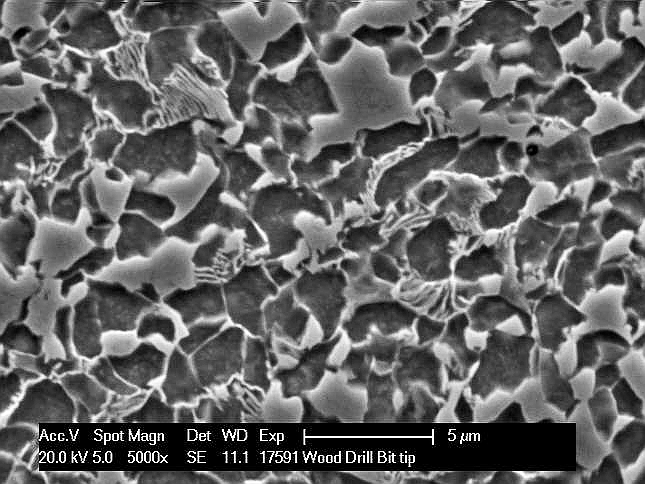
Metallography using optical microscopy on polished and chemically etched cross-sections showed the drill bit material had very fine grains and a mixed tempered microstructure consisting of ferrite, martensite, pearlite and perhaps bainite. The microstructure was the same at the tip, at the bend and at the end of the shank.
The tip and shank of the drill bit had a Vickers hardness in the region of 250 HV10 and 220 HV10, respectively. The material was too soft to function appropriately as a cutting tool.
 Metallurgical Failure Analysis Findings, Consultancy and Product Improvement
The drill bit did not have the correct microstructure and hardness to function properly as a cutting tool. The cause of this was improper heat treatment. Whilst the tool resembled a high quality component, results pointed to either poor manufacturing production quality control or insufficient knowledge or inadequate specification of the required metals treatment. The problem required better control of the supply chain and engineering functions.
Consultant Metallurgical Investigation of a Failed Wood Drill Bit report.

